Menu
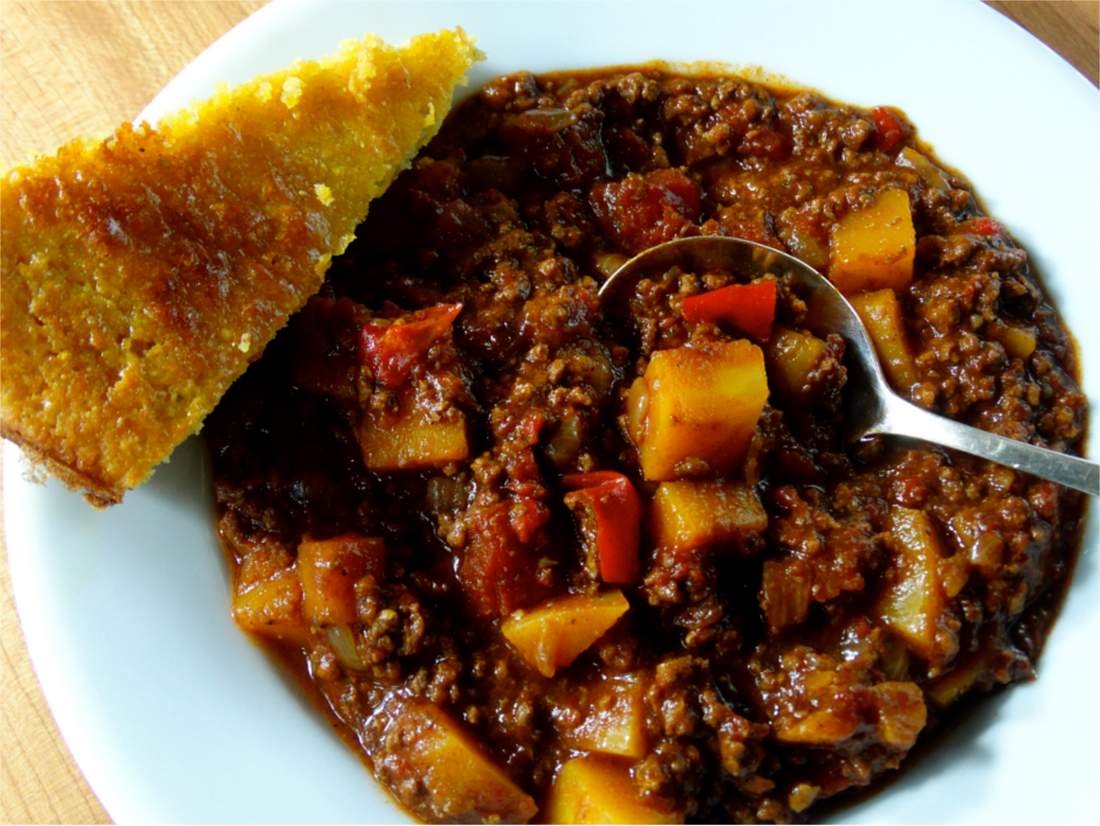
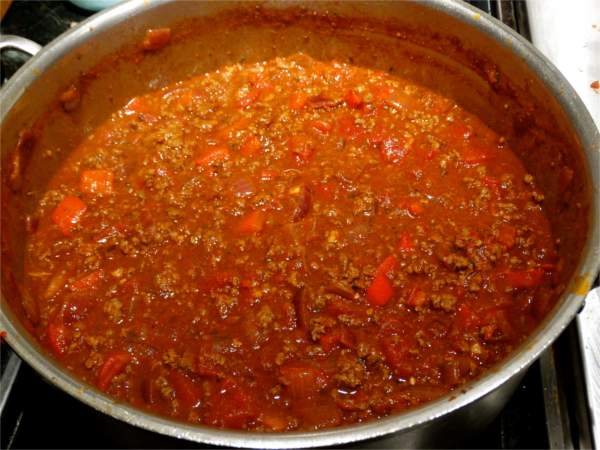
This paleo chili recipe uses butternut squash instead of beans. Butternut squash has fewer than half the calories and carbohydrates of beans.
I love beans, but they don’t love me. It’s the whole “magical fruit” thing that makes them off limits for me, and it’s what makes them off limits for the paleo/primal diets. Many people find beans difficult to digest, even when properly soaked and cooked. Even if you tolerate beans well, you might like to substitute butternut squash for a delicious, lower calorie change of pace.
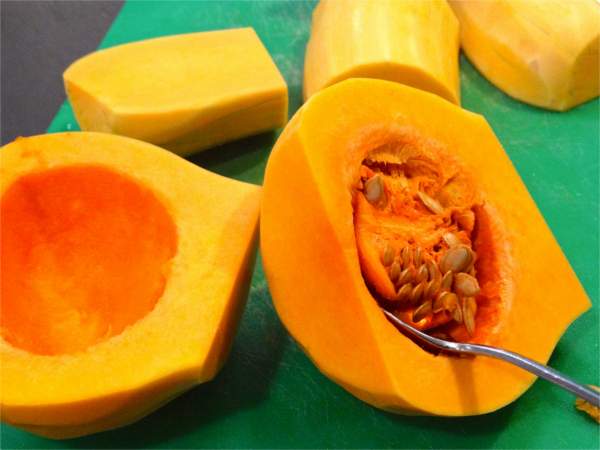
If you are not familiar with butternut squash, here are some tips on preparing it:
First of all, if you have sensitive skin like me, I recommend wearing rubber gloves. The peeled raw flesh of butternut squash (and many winter squashes) will “eat” the skin on your fingers. It’s a self-defense mechanism that heals the plant’s skin when its flesh is pierced, and it also deters animals from having a little munch. Don’t worry, once the squash is cooked, the “skin-eating” is no longer a danger.
Remove the skin with a vegetable peeler. I like to cut the round bottom off, and then I cut it in half to get to the seeds. Scrape the seeds and fibers out with a spoon.
Then dice the squash into the bean-sized chunks.
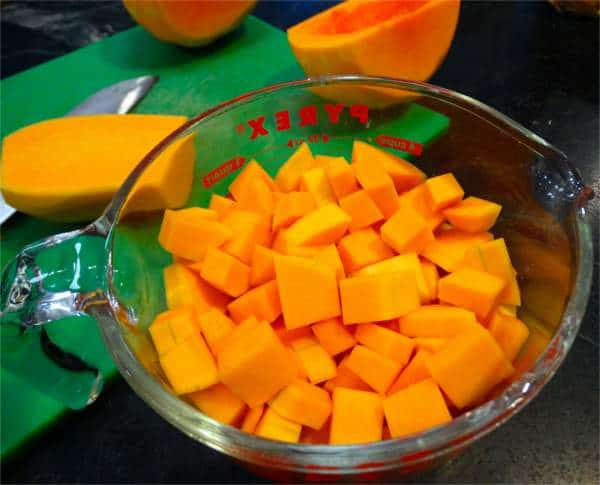
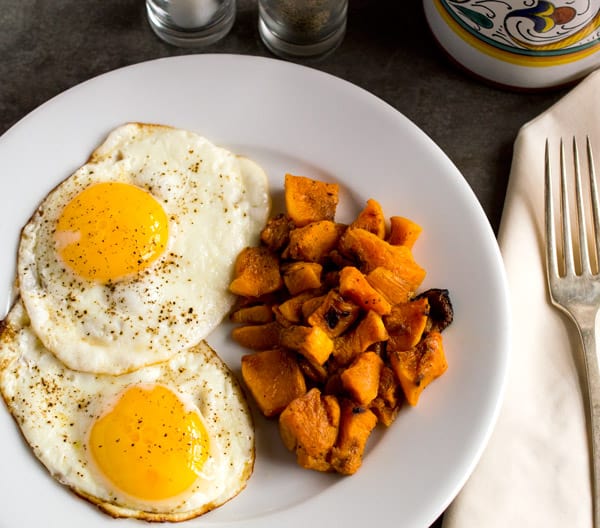
Add the squash during the last 20-30 minutes of cooking, I used about half of a squash for this recipe. I made Roasted Butternut Squash with the remainders and had it for breakfast along with my eggs during the week.
I like to braise the chili in the oven so I don't have to babysit it, and I can do other things while the oven does all the work. However, if you are short on time, you can simmer the chili on the stovetop for 45 minutes to an hour, just be sure to stir it often so it does not stick to the bottom of the pot or burn.
Chili is a staple meal at our ski house, and a great no fuss, make-ahead dish that reheats beautifully. This recipe is mildly spicy since I'm usually serving children. I serve it with a bottle of hot sauce on the side, for those who want more of a kick. You can adjust the amount of cayenne and chili powder to suit your own tastes.
I love this chili with my Gluten Free Skillet Cornbread:

To see more recipes, CLICK HERE.

I love adding a whole, unprocessed and healthy twist to classic recipes. My food is often grain-free, usually gluten-free, and always unprocessed.


Hey there, great recipe! We just made this last night and love it.
However, I'm not sure how much chili powder we should actually put in it... The ingredients listing says 3tbps, but the instructions say 2tbsp.
We actually put in 1.5 tbsp since we ran out of chili powder, and the flavor was still great. It was a bit spicy for my son, but we added some cheese and full-fat sour cream to help cool it down.
Thanks for catching that! I went back to my original notes and have corrected the ingredients to say 2 Tbs of chili powder. Glad you enjoyed it!
Oh, I also wanted to say, I used frozen organic butternut squash, and put in 3 cups at first, but it didn't look like enough so I used all of the bags I had, which came to a little over 4 cups.
Turned out great! Major time saver there.
[…] Butternut Squash Chili by A Whole New Twist […]
This was fantastic and so savory. I used yellow onion vs red and cubed sweet potato vs squash. I also added potato right before putting in oven and an hour was perfect. Ate with crumbled cornbread on top and will also do on elbow macaroni. Very versatile and tasty!!!
Thanks so much, I'm really glad you enjoyed the Paleo Chili With Butternut Squash. Your comment got me craving it again so I'm about to make a batch in the instant pot!